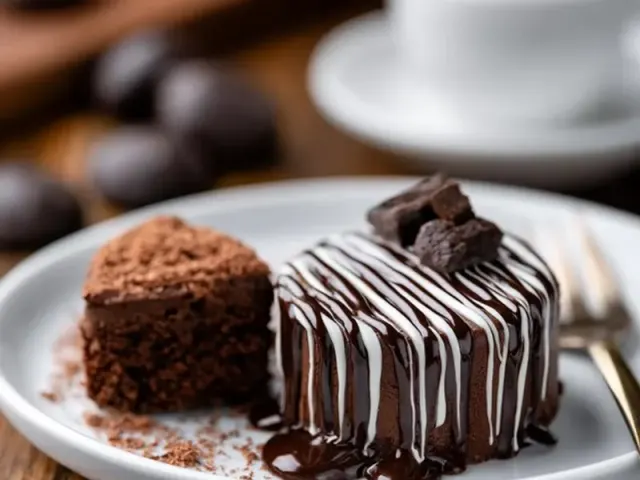
Chocolate Cake Pops Changes Everything for Camping Dessert
The first time I brought chocolate cake pops to a tent camping trip, I was skeptical. Would they survive the hike in? Would the chocolate melt in the afternoon sun? But one bite of that fudgy center, with the coating cracking just slightly, and I knew: chocolate cake pops changes everything about camping dessert.

No more sticky s'mores fingers at bedtime. No more squashed brownies. These little treats pack neatly, handle well in cool weather, and give you that sweet finish without the mess. Here is how to make them work at your site.
Why Cake Pops Work at Camp
Standard camping desserts have problems. S'mores need a fire and careful timing. Cookies crumble in the pack. Fruit gets bruised. Cake pops solve all of that. The coating seals in moisture, so they stay fresh for days in a cooler. The stick means clean hands. And the portion size is perfect after a long day of hiking.
My trick: freeze the cake pops solid before packing. They thaw slowly in the cooler and stay intact. I wrap each one individually in wax paper, then stack them in a hard-sided container. No squishing, no sticking.
Prep at Home, Assemble at Camp
I bake the cake at home and crumble it into a bowl. Mix in just enough frosting to hold it together—too much makes the pops greasy. Roll into balls, insert sticks, and freeze. At camp, I melt the coating in a small saucepan over a camp stove, using a double boiler method to avoid scorching. Dip each frozen pop, let the excess drip, and set them on a parchment-lined tray. In cool weather (below 70°F), they set in about 10 minutes. If it is warmer, I put the tray in the cooler for a few minutes.
One mistake I made early on: dipping pops that were not frozen enough. The coating cracked and the pop slid off the stick. Freeze them solid—at least 20 minutes in a home freezer, or an hour in a camp freezer if you have one.
Adapting for Weather and Terrain
Hot and Humid
Use a higher ratio of chocolate to coconut oil (try 2 cups wafers to 1 teaspoon oil). The coating sets harder and resists melting. Store pops in a cooler with a dry towel on top to absorb condensation.
Cold and Windy
Melt the coating in a sheltered spot. Wind cools the pan too fast. I set up my stove behind a windbreak or inside the vestibule of the tent (with the fly open for ventilation). The coating sets almost instantly in cold air, so work quickly.
Rainy Days
Assemble under the tent fly or a tarp. Humidity can make the coating tacky. Add a teaspoon of cocoa powder to the coating to help it dry faster. Store pops in an airtight container to keep moisture out.
Camping with Kids
Kids love rolling the cake balls and dipping. Let them do it at a picnic table with a wipe-clean surface. Give each child a small bowl of sprinkles or crushed graham crackers to roll the coated pops in before they set. The mess stays contained, and the result is a proud kid with a homemade treat.
Safety note: keep the melted chocolate away from little hands. Use a low flame and a stable pot. I set up a dedicated "dipping station" with the pot on a level surface and the tray beside it.
Packing and Transport
Pack the frozen pops in a hard-sided container with layers of wax paper between them. Put the container in the cooler, not touching the ice directly. They will thaw gradually over the first day. For longer trips, keep them frozen and dip on the last night.
If you are hiking to your site, carry the frozen pops in a small insulated bag. They will stay solid for a few hours if the weather is mild. For summer hikes, freeze them extra hard and wrap in a frozen gel pack.
Takeaway
Chocolate cake pops changes everything about camping dessert because they are portable, mess-free, and satisfying. The key is freezing them solid before packing and working quickly with the coating at camp. Whether you are at a drive-up site or a backcountry spot, these little treats make the end of the day feel special. And that is worth the extra step.
Frequently Asked Questions
Can I make chocolate cake pops without an oven while tent camping?
Yes. You can bake the cake in a Dutch oven with coals or use a camp stove with a portable oven attachment. Alternatively, use pre-baked cake from home and only assemble at camp.
How do I keep cake pops from melting in warm weather?
Store them in a sealed container in a cooler. Add a layer of paper towels to absorb moisture. Keep the cooler shaded and avoid direct sun on the container.
What is the best way to coat cake pops at a campsite?
Use melting wafers or chocolate chips with a teaspoon of coconut oil for a thinner coating. Melt in a double boiler setup on a camp stove. Dip and let set on a parchment-lined tray in a cool spot.
Can I make cake pops with kids at the campsite?
Absolutely. Prep the cake balls at home and let kids roll and dip at camp. Use a simple coating and let them decorate with sprinkles or crushed cookies. Keep hands clean with wet wipes.
Chocolate Cake Pops Changes Everything for Camping Dessert

These chocolate cake pops are a portable, no-fuss camping dessert. Prepare the cake at home, then assemble and coat at the campsite for a sweet treat that won't crumble in your pack.
- 1 box chocolate cake mix (plus ingredients listed on box (eggs, oil, water))
- 1/2 cup chocolate frosting (store-bought or homemade)
- 2 cups chocolate melting wafers (or chocolate chips)
- 1 tablespoon coconut oil (optional, for thinning coating)
- 12 lollipop sticks (or short wooden skewers)
- Bake the chocolate cake according to package directions in a 9x13-inch pan. Let cool completely.
- Crumble the cooled cake into fine crumbs in a large bowl. Add 1/2 cup frosting and mix with your hands until a dough forms.
- Roll the dough into 1-inch balls and place on a parchment-lined baking sheet. Insert a lollipop stick into each ball. Freeze for 20 minutes.
- Melt the chocolate wafers with coconut oil in a double boiler or heatproof bowl set over simmering water. Stir until smooth.
- Dip each frozen cake pop into the melted chocolate, letting excess drip off. Place upright in a styrofoam block or on parchment to set.
- Let the coating harden completely before packing. Store in a sealed container in a cooler for up to 3 days.
Recipe: Chocolate Cake Pops Changes Everything for Camping Dessert
Ingredients
- 1 box chocolate cake mix (plus ingredients listed on box (eggs, oil, water))
- 1/2 cup chocolate frosting (store-bought or homemade)
- 2 cups chocolate melting wafers (or chocolate chips)
- 1 tablespoon coconut oil (optional, for thinning coating)
- 12 lollipop sticks (or short wooden skewers)
Instructions
- Bake the chocolate cake according to package directions in a 9x13-inch pan. Let cool completely.
- Crumble the cooled cake into fine crumbs in a large bowl. Add 1/2 cup frosting and mix with your hands until a dough forms.
- Roll the dough into 1-inch balls and place on a parchment-lined baking sheet. Insert a lollipop stick into each ball. Freeze for 20 minutes.
- Melt the chocolate wafers with coconut oil in a double boiler or heatproof bowl set over simmering water. Stir until smooth.
- Dip each frozen cake pop into the melted chocolate, letting excess drip off. Place upright in a styrofoam block or on parchment to set.
- Let the coating harden completely before packing. Store in a sealed container in a cooler for up to 3 days.