
The smell of chocolate drifting through pine trees is a kind of magic. I’ve baked this cake over campfires, on propane stoves, and even on a grill with a makeshift lid. Every time, that first bite—soft, fudgy, almost pudding-like—makes the whole setup worth it. This chocolate one bowl cake lives up to its name: it really does melt in your mouth.
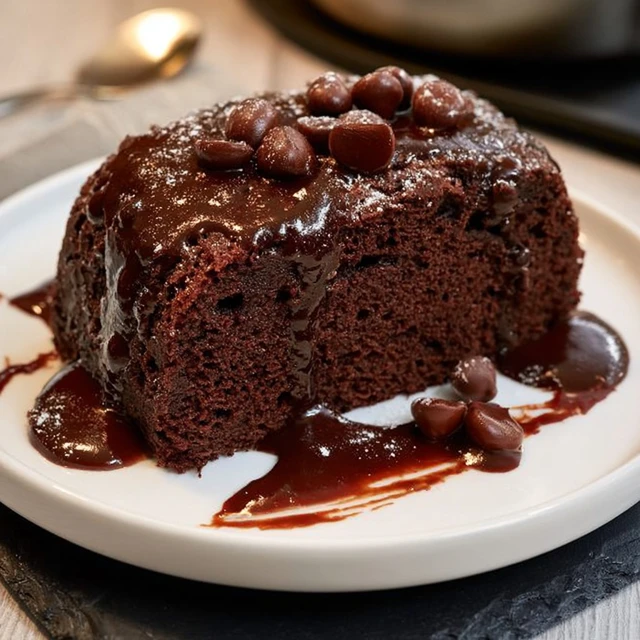
Here’s the thing about baking in the wild: you don’t want a sink full of dishes or a mixer that needs electricity. This recipe asks for one bowl, one spoon, and a handful of pantry staples. The vinegar and baking soda create a gentle lift, and the warm water keeps the crumb tender. No eggs, no milk—it’s vegan by accident, but you’d never guess.
The One-Bowl Method That Works
The beauty of this cake is its simplicity, but a few details make the difference between a dry disappointment and a fudgy dream. First, the water must be warm—not hot, not cold. Warm water helps the cocoa bloom, releasing its deep flavor. I fill a mug from my thermos and let it sit for a minute before adding.
Second, stir gently. Vigorous mixing develops gluten, which gives you a tough cake. You want a smooth batter with no dry pockets, but a few small lumps are fine. The batter will be thin, almost like a milkshake. That’s correct. That thinness is what creates the moist, tender crumb that melts on your tongue.
Baking Over Fire: Heat Management
Campfire baking is an art, but it’s learnable. I use a 12-inch cast iron Dutch oven for this cake. The key is even heat. If you put the oven directly on flaming logs, you’ll burn the bottom and leave the center raw. Instead, use a bed of coals—not flames. Push the fire to one side and rake a pile of hot coals into a flat area.
For a 12-inch oven, I place 8 briquettes underneath in a checkerboard pattern and 16 on the lid. If you’re using a wood fire, aim for a similar ratio: about one-third of the coals under the oven, two-thirds on top. The lid gets more heat because the cake rises toward it.
Halfway through baking, I rotate the oven a quarter turn and spin the lid in the opposite direction. This prevents hot spots—the single most common mistake in campfire baking. A burnt edge and a goopy middle? Not with this trick.
The Trick for a Fudgy Center
Everyone wants that gooey, almost brownie-like center. The secret is pulling the cake a few minutes early. I start checking at 28 minutes. The toothpick should come out with a few moist crumbs, not clean. If it’s clean, the cake is overbaked. Let it rest in the Dutch oven for 10 minutes after you pull it off the coals. Carryover heat finishes the cooking without drying it out.
For a double-chocolate hit, scatter a handful of chocolate chips over the batter just before closing the lid. They sink slightly and create molten pockets. I’ve also pressed fresh raspberries into the top for a tart contrast. Both work beautifully.
Adapting for Weather and Conditions
Cold wind is the enemy of even baking. If it’s breezy, set up a windbreak—a tarp tied between trees, or even your camp chair placed strategically. Wind steals heat from the lid, and your cake will take longer to bake. Add 3-4 extra coals on top and check later.
At high altitude, reduce the baking soda to 3/4 teaspoon and increase the water by 2 tablespoons. The lower air pressure makes cakes rise faster and then fall. That small adjustment keeps the texture stable.
Safety Notes for Campfire Baking
Always use heat-resistant gloves or a lid lifter when handling the Dutch oven. The lid handle gets scorching hot. Set the hot lid on a flat rock or a trivet—never directly on a table or the ground, where it can scorch or start a fire. Keep a bucket of water or a fire extinguisher nearby. And remember: let the fire burn down to coals before you start baking. Flames are for s’mores, not cakes.
Store leftover cake in an airtight container. If you’re car camping, a simple plastic bin works. For backpacking, wrap slices in parchment and then a cloth. The cake stays moist for two days—if it lasts that long.
This chocolate one bowl cake is the dessert you’ll come back to, trip after trip. It’s forgiving, adaptable, and genuinely delicious. One bowl, a handful of ingredients, and the patience to manage your coals. That’s all it takes to pull a warm, fudgy cake from the fire. And when you take that first bite, watching the steam curl into the evening air, you’ll know exactly why it’s worth the effort.
Frequently Asked Questions
Can I use a regular cake pan instead of a Dutch oven?
Yes. For campfire cooking, a Dutch oven is best because it traps even heat. But you can also use a 9-inch round cake pan inside a camp oven or on a grill with a domed lid. Just watch the heat—place the pan on a trivet or a few small stones to lift it off direct flame.
How do I know when the cake is done without a glass oven door?
Use the toothpick test: insert a clean twig or skewer into the center. If it comes out with just a few moist crumbs, it’s done. If it’s wet with batter, cover and cook 5 more minutes, then check again. Also, the cake will pull slightly away from the sides of the Dutch oven.
Can I make this cake gluten-free?
Absolutely. Swap the all-purpose flour for a 1:1 gluten-free baking blend that contains xanthan gum. The texture will be slightly more tender, so check doneness a few minutes early. Everything else stays the same.
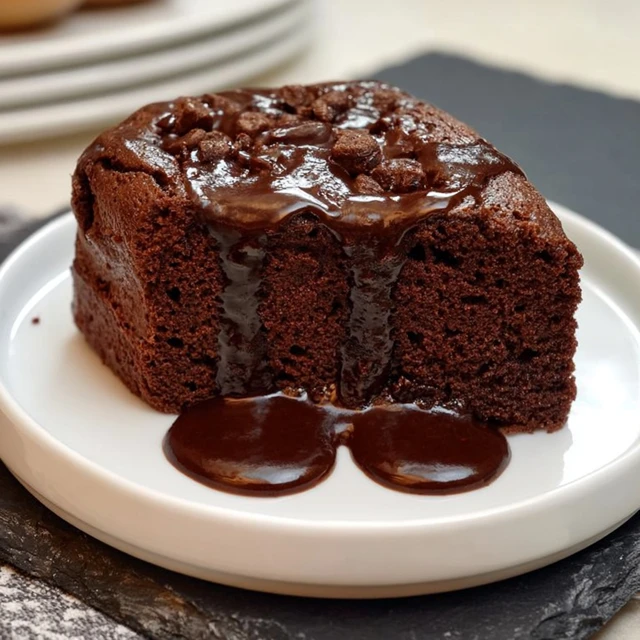
Chocolate One Bowl Cake: Melts In Your Mouth
Ingredients
Method
- Light your campfire or preheat your camp stove. For a Dutch oven, you want a steady bed of coals—about 8-10 briquettes underneath and 14-16 on top for a 12-inch oven.
- In a large bowl, whisk together the flour, sugar, cocoa powder, baking soda, and salt. Make sure there are no lumps—cocoa loves to hide them.
- Add the warm water, oil, vinegar, and vanilla. Stir with a wooden spoon just until smooth. Do not overmix; a few streaks are fine. The batter will be thin—that's the secret to a moist, melt-in-your-mouth crumb.
- Pour the batter into a greased 12-inch Dutch oven (or a greased 9-inch round cake pan). For easy cleanup, line the bottom with a round of parchment paper.
- Cover and place the Dutch oven over the coals. Use a lid lifter to carefully arrange the top coals. Bake for 30-35 minutes. Rotate the oven and lid halfway through for even baking—this is the trick that prevents a burnt edge and a raw center.
- Test for doneness with a skewer or clean twig. Let the cake cool in the oven for 10 minutes, then lift it out using the parchment paper. Serve warm or at room temperature.